Saturday, May 10, 2014

Figma Broken Joint Experience

It has been almost half a year since my last post! Let's talk about something which probably hits real close to your Figurine-collecting heart: When a figurine breaks!

In this picture: Over-dramatized 

Yes, while I was typing the other blog posts from the yesteryear, I was keeping a dark secret: 1 of my Figmas broke her head! Meet Rika Jougasaki!

Unlike my older sister, I'm to go break my head off.. Wait, no, that's not right!

It was due to my carelessness which caused poor Rika much pain and suffering. While rearranging my figurines on my shelf, I left poor Rika too close to the shelf edge. As a result, when the shelf suddenly shook, she fell off and her head broke off!

The incident was so traumatizing for me, I failed to take a photo of it.
Here's a happy Rika for compensation

Panicking, I went online to search for clues and answers. Of course, there were quite a few suggestions on using Super Glue. I dug out all the Super Glues that my house had, and looked for keywords such as "Suitable for plastics".

Who knows what further damage you could do with powerful glue?

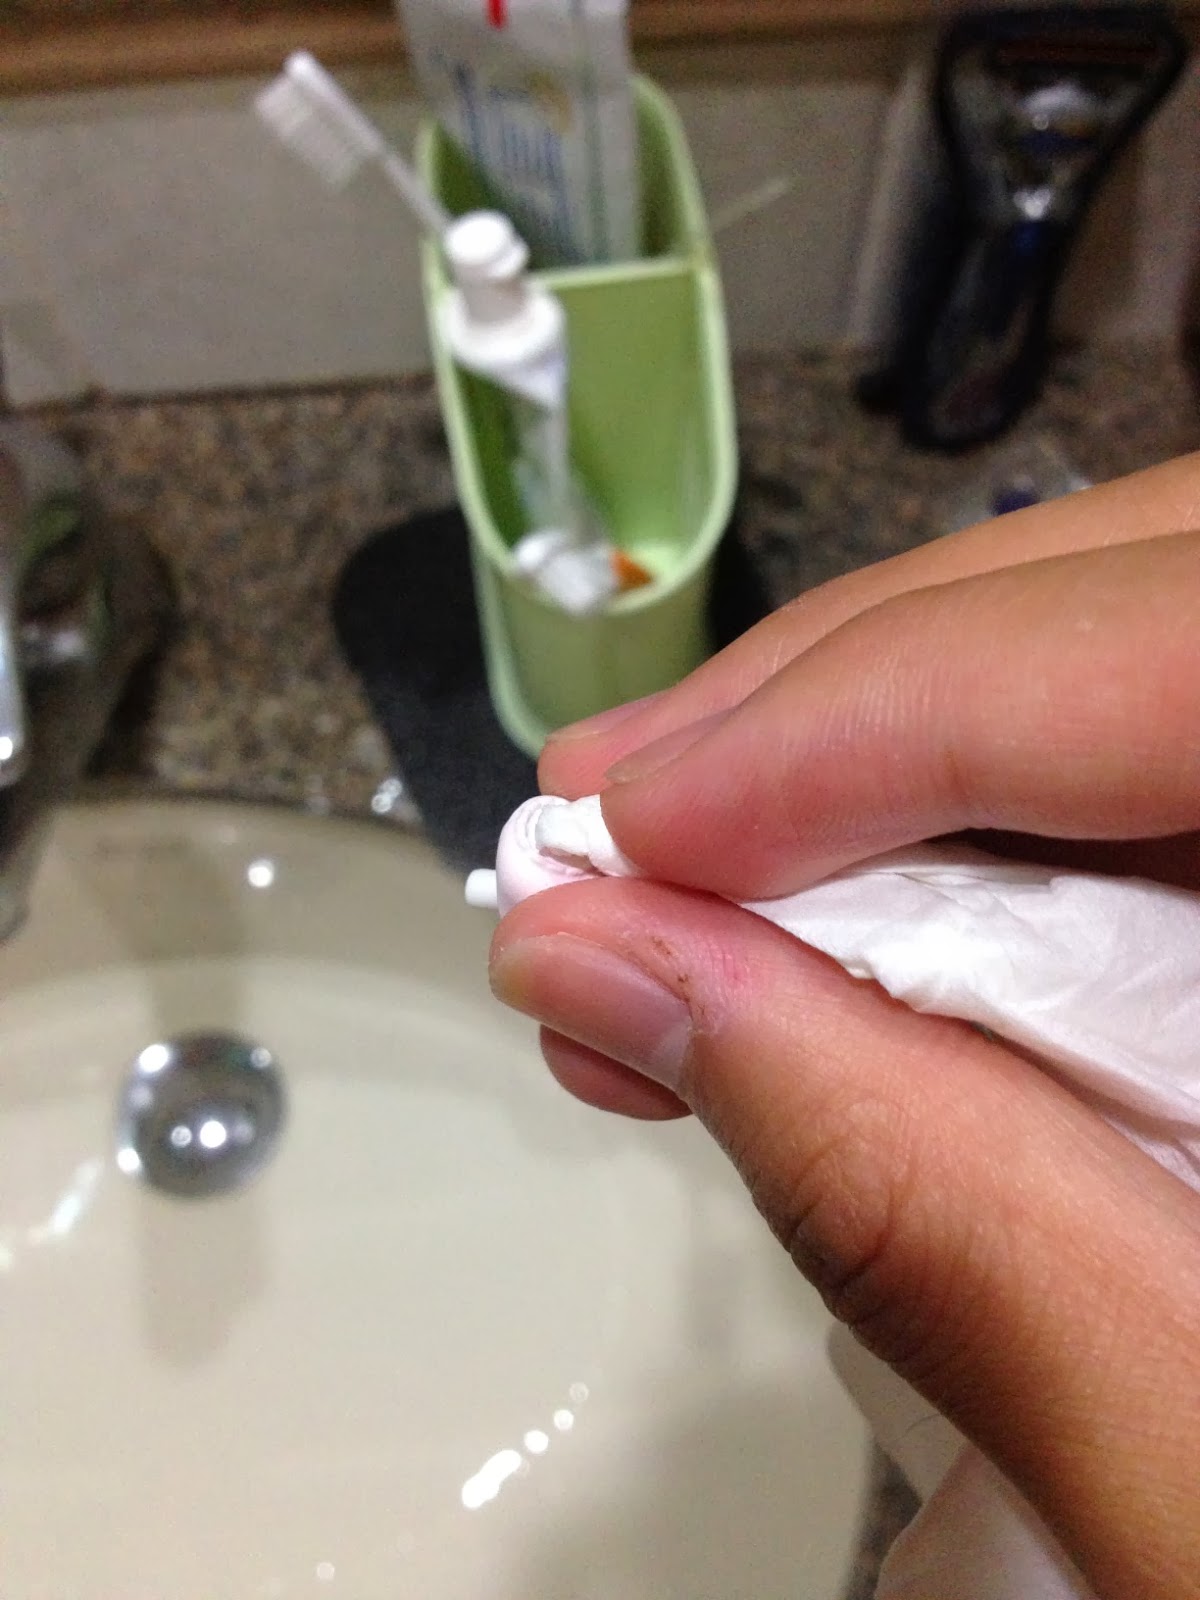
So I gave it a shot. I identified the broken joint, applied the glue lightly on both the head and the body, and applied pressure onto the joint until it seems to be mended.

I apologize for not recording all of these using a camera, but I was too sad over the situation, since I had her imported from Wonderfest 2013 directly.

Another image of cute little Rika as compensation

Every few weeks, I'd check on her, and always received the same results: The head joint still comes off.

Eventually, I got it right (After roughly 4 months).

This isn't gruesome, this is sadness. Real sadness.

As you look closer, I applied super glue not just onto the joint, but also around it. Yes, you'd say applying glue near the joint would render the joint unmovable. I totally agree with you, which is why I wait for the glue to dry (For a few days), then attempt to gently move the joint in attempts to "snap the dry glue off".

Oneeeeee-chaaaaaan!

Either 2 results will occur:
The joint snaps off again, or, the joint becomes movable again (After a creepy sound of dry glue cracking)

I was totally over the moon (Figuratively speaking) when the joint was able to rotate, and move up and down eventually. Of course, when I try to move her head, I gently do so with my 2 hands.

Nevertheless, this meant that she was somewhat "fixed", so I took her out!

Rika looks like she's having a good time

The take-home moral of this article is: Always be careful with your figurines. Never place them near dangerous locations even just for a short while! This was a real frightening experience for me, and I totally learnt my lesson!

That's all for now! See ya!

Sunday, December 22, 2013

Nendoroid Dirty Experience Part 2.

This is a continuation from Part 1, which is over here!

-----
A short recap: 
I had decided to soak all the parts in a mild Detergent solution, before using a Cotton Bud to rub off the dirt with Hand Wash gel.

After leaving them to dry, I returned back to cleaning..

And now, the Faces!

I started off with the ( *゜д゜) face, from Nendoroid Kurisu Makise!

D-don't look at me like that!

Cute overall, but really dirty. I used a clean Cotton Bud and rubbed the dusty areas to removed any easily removable dust from her Face, then soak another Cotton Bud in the Detergent Solution and rubbed her Face gently. 

After that, I used the Hand Wash gel to clean her sides, and only on spots with dirt. I try my best to avoid areas which contain prints (Like her eyes) and paint (Like her mouth). 


Must.. avoid.. glare..

Lastly, I ran the face under tap water, using a tissue to rub off any leftover solution.
End Results? Beautiful!
That's not a face of gratitude!

Pretty good if I say so myself! I left it to dry along with the other pieces I'd previously cleaned, and moved on with the second Face!


That.. face..

Well, from the front, it's just a speck of dust across her face (Which looks like a Mustache), but the worst has yet to come...
AHHH!

Yes! Those yellow bits are some terrible, terrible stains (The camera is really forgiving). Makes me wonder how my friend managed to achieve such stains sometimes. 


Rub-rub-rub

Anyways, I did the similar steps as with the previous Face, and although it took longer than before, due to the heavy amount of dirt on the sides, things went off without a hitch!


Success!

Finally, I left everyone out to dry...


And Kagami's on Guard Duty!

That's all! The entire cleaning experience took me roughly 2 hours, including preparation. I hope you all found this post (And my previous post on Stickiness) a little helpful! If  there's any questions, feel free to leave a comment! Even though this may be a 1.. or rather, 2-posts Blog, I do check back once a while!

Take care everyone, and remember to take good care of your Nendoroids as well!

Cheers!
Keita

Nendoroid Dirty Experience Part 1.

It has REALLY been a while since I last posted. I remembered saying that this was suppose to be a one-post blog, but I guess I was wrong! 

So, why the new post? Well, a few days ago, a friend of mine took along his Nendoroid when we were on an outing, and I realized that 2 of his Nendoroid faces were really dirty...


Kill... me...

Yes, Nendoroid collectors would recognize that Face is from Nendoroid Kurisu Makise (White Coat Ver.) from Wonderfest 2011. Next up is...


She's got a mustache, and it's creepy 

This would be from Nendoroid Kobayakawa Rinko, from the Nintendo DS Dating Simulation, LovePlus! 

The dirt marks aren't that visible (I blame my photography skills), but aside from that, I offered to clean them up for him.

I'm aware that many sites like the official GSC Mikatan had posted tips on how to clean your Nendoroid/Figures, but I'm just posting this up just to let others know my personal experience as a figurine collector trying to maintain his Nendoroids.

Now, like the last time, before I continue, there's got to have Disclaimers!
-----
I'm not taking responsibility for any damage to your Nendoroids by following these instructions.

I'm also not saying my steps/procedures are correct or recommended. If any step/procedure seem dubious to you, please reconsider, verify with others, or perform with care!
-----

Now that we'd gotten that out of the way...

Before preparing the tools needed for cleaning, I looked through some of my other Nendoroids, and checked if they too, need some cleaning.

Sure enough, there was one...
Under-boob Dust?

Yes, that'd be the body of Nendoroid Mimi Usa. She attracted quite a lot of dirt and dust on the shelf because she was not contained within any dust-free container, and was near the window (Sunlight is a dangerous enemy to figurines). 

Yes, so this is kind of, my fault... Anyways, I decided to wash her body as well!


Oh?

Here it is, some of the tools I'm going to use.. There's mild Detergent, a pail, some cotton buds, Hand wash and.. what's that?


Oh!

That's Nendoroid Kuro Kagami threatening to kill me if I try to do anything funny with Mimi's body.

Jokes aside! Let's continue!
Just a little

I took roughly a teaspoon worth of mild Detergent and added it to lukewarm water in a pail. I stirred it and added the parts I'm planning to clean.
Whoa, Rin!

Some may recall Nendoroid Rin from my previous Blog Post. Yes, well, after taking her out for events/trips for the past few months, her hair became sticky again, and even worse, is that some dirt began sticking onto her hair.

Yes, again, my fault for not maintaining her properly. So remember to take extra care of your Nendoroids when you're taking them outside, especially on hot and sunny days!

So I'd decided to clean up Rin's hair as well! I soaked all of the parts for roughly 15 minutes in the solution, and then clean them individually.

First off, we have uh.. Mimi's dusty body (?)
Ooooook...

Taking out the body, I gently dabbed it with more of the Detergent solution using a Cotton Bud, followed by just a bit of Hand wash gel.

That little dab of gel over there

If anyone is curious, I used Protex Hand Wash for this.

Well, this is weird

As you can see, most of the dirt came off with the help of light rubbing of the Cotton Bud and soft tissues, but some of the dust on the.. uh.. Under-boobs, seem to be persistent. Sad to say, there's really not much I could do. 

Scrapping with your finger is not recommended by most people, even me, but I decided to try just a bit, for experience and to let curious others see how effective this method would have been. 
Uh.. huh...

As expected, not much of an improvement. A bit dirt DID came off, but it's not really worth the effort (I did roughly 5 minutes worth of gentle scrapping). 

I'd like to point out that Prevention is always better than Cure, so remember to take care of your figurines properly. There may be solutions to removing tough stains like this, but why go through all the effort if you can prevent it from happening?

As for her Arms/Legs/Pants, the cleaning went without any problems, and same goes for Rin's hair. The steps are similar:

Using a Cotton Bud, I dabbed them with Detergent Solution, and then gently rub them with another Cotton Bud with Hand Wash.

Some of the dust and dirt did not come off after rubbing a few times. In fact, some took me roughly 2~3 minutes to rub them off (Gently, of course)

Oooo

For parts with holes for joints, I rolled a small soft tissue and jab them into the holes to soak up any water within them.
Like so
And as for Rin's hair...
It's tough to take shots and clean at the same time..
I wonder what's Rin up to...
.....
Oh well, she is going to have to wait, because now, it's time to clean the Faces! Onwards to Part 2! 

Monday, February 18, 2013

Nendoroid Sticky Experience Part 2.

Click HERE for Part 1 of this supposing one-post Blog!
---------
From where we left off, I found out (Through testing) that Hand Soap and Detergent are effective ways of getting rid sticky surfaces of my Nendoroid.

While this might be a solution to sticky Nendoroids, and if you want to follow what I did, be cautious, as I do not claim any responsibility to what may happen to your Nendoroid (Or figurine).

Without further ado, let's carry on with my cleaning experience!

3. The Rest of Rin
Let's not think too much about this...
Before I submerge my Nendoroid parts into the pail, I always ensure the water is lukewarm, and not too much detergent is added. With this kept in mind, after 45 mins for each cleaning, the parts came out fine, and sticky-less!
Err..
I dried each part using a cotton bud, and gently dabbing them, and then set them on some tissue papers to dry.
Aww! My Nendoroid Yune's worried if Rin's going to be okay
4. The Heads
I was worried when it came to the facial expressions (Faces), because they were extremely sticky, and not to mention, they have stickers (For their eyes). I've heard rumors that submerging the stickers could cause them to peel off, and I was not going to take the risk.
Better safe than sorry!
I filled up enough lukewarm water till the water level barely touches the eyes, and left them to soak for a while. I knew this method was not going to solve the stickiness of the forehead and the back of the Faces. So I took another cotton bud, soak it in the detergent solution, and dab the faces.
She likes it!
I did the same for the back of the faces, and then left them to soak again.
After around 30 minutes. I checked them out. Sadly, the stickiness did not disappear off the front, neither the back of the faces. I used my fingers and cotton buds and gently rub them, so as to not damage any paint-work. 
Rub Rub Rub
After all the rubbing, I ran them under tap water and checked if the stickiness persisted. After a few more rubbings with detergent solution, the stickiness was minimal. As for her "Smiling" face, the stickiness was gone! I dried the Faces off with light dabs of soft tissues (I never dared to rub them), and left them along with the rest of the parts, to dry off any remaining wet areas.


Kira Kira!
5. End Results
Damn, you look so fine and yummy!
After a few hours of drying, she's sticky-free.. Well, almost! Her other faces are still a little sticky, but given enough time (I've got school work to do), I'm pretty sure she could be as good as new! :3

I hope you all find this post a little helpful. I would love to know more, since, after all, this was actually my first time cleaning up a Nendoroid

Cheers!
Keita